This post offers a step-by-step solution to avoid common installation issues with long fully threaded screws in near edge applications such as wood splitting, poorly aimed installation causing the screw to poke out or stripping of the drive. We will showcase the installation of an ASSY VG CYL 5/16″ x 22 3/4″ and an ASSY VG CSK 3/8″ x 22 3/4″ as outlined in the ICC ESR 3178.
Approximately 8-minute read
The first step to properly install ASSY screws is having the proper tools.
In our example scenario, we are installing fully threaded screws perpendicular to the grain in a Douglas fir glulam and can expect these screws to be loaded axially in withdrawal. Axially loaded screws in withdrawal are typical for reinforcing applications in existing or newly installed mass timber elements. In the withdrawal case, the edge distance requirement is 3*D (often presented as 3D), 3 times the outer thread diameter of the screw as specified in our Structural Screw Catalog (Note: we are using the American version here). The 5/16” screw needs a minimum edge distance of 15/16” which we will round up to 1” for simplicity, while the 3/8” screw needs an edge distance of 1-1/8”. Using our tools, we measured out the required edge distances and marked out where the screws will be installed. Following the proper geometry requirements ensures full fastener resistance can be developed and limits the risk of splitting.
In our example scenario, pilot holes are not required as we are respecting the geometry requirements outlined in ICC ESR 3178, however pilot holes will aid in guiding the screw in the right direction, to reach the specific area, that might need reinforcement for example. We pre-drilled a 3/16” diameter by 12” long pilot hole for both screws. For the 3/8” screw, we could have used a 1/4” drill bit, but having a smaller diameter pilot hole is not an issue. Our tip is to drill at an approximate 3° incline towards the center of the beam to avoid the screw curving outward and poking out of the wood. ASSY self-tapping screws are strong and flexible, and longer screws can be expected to curve more than shorter screws.
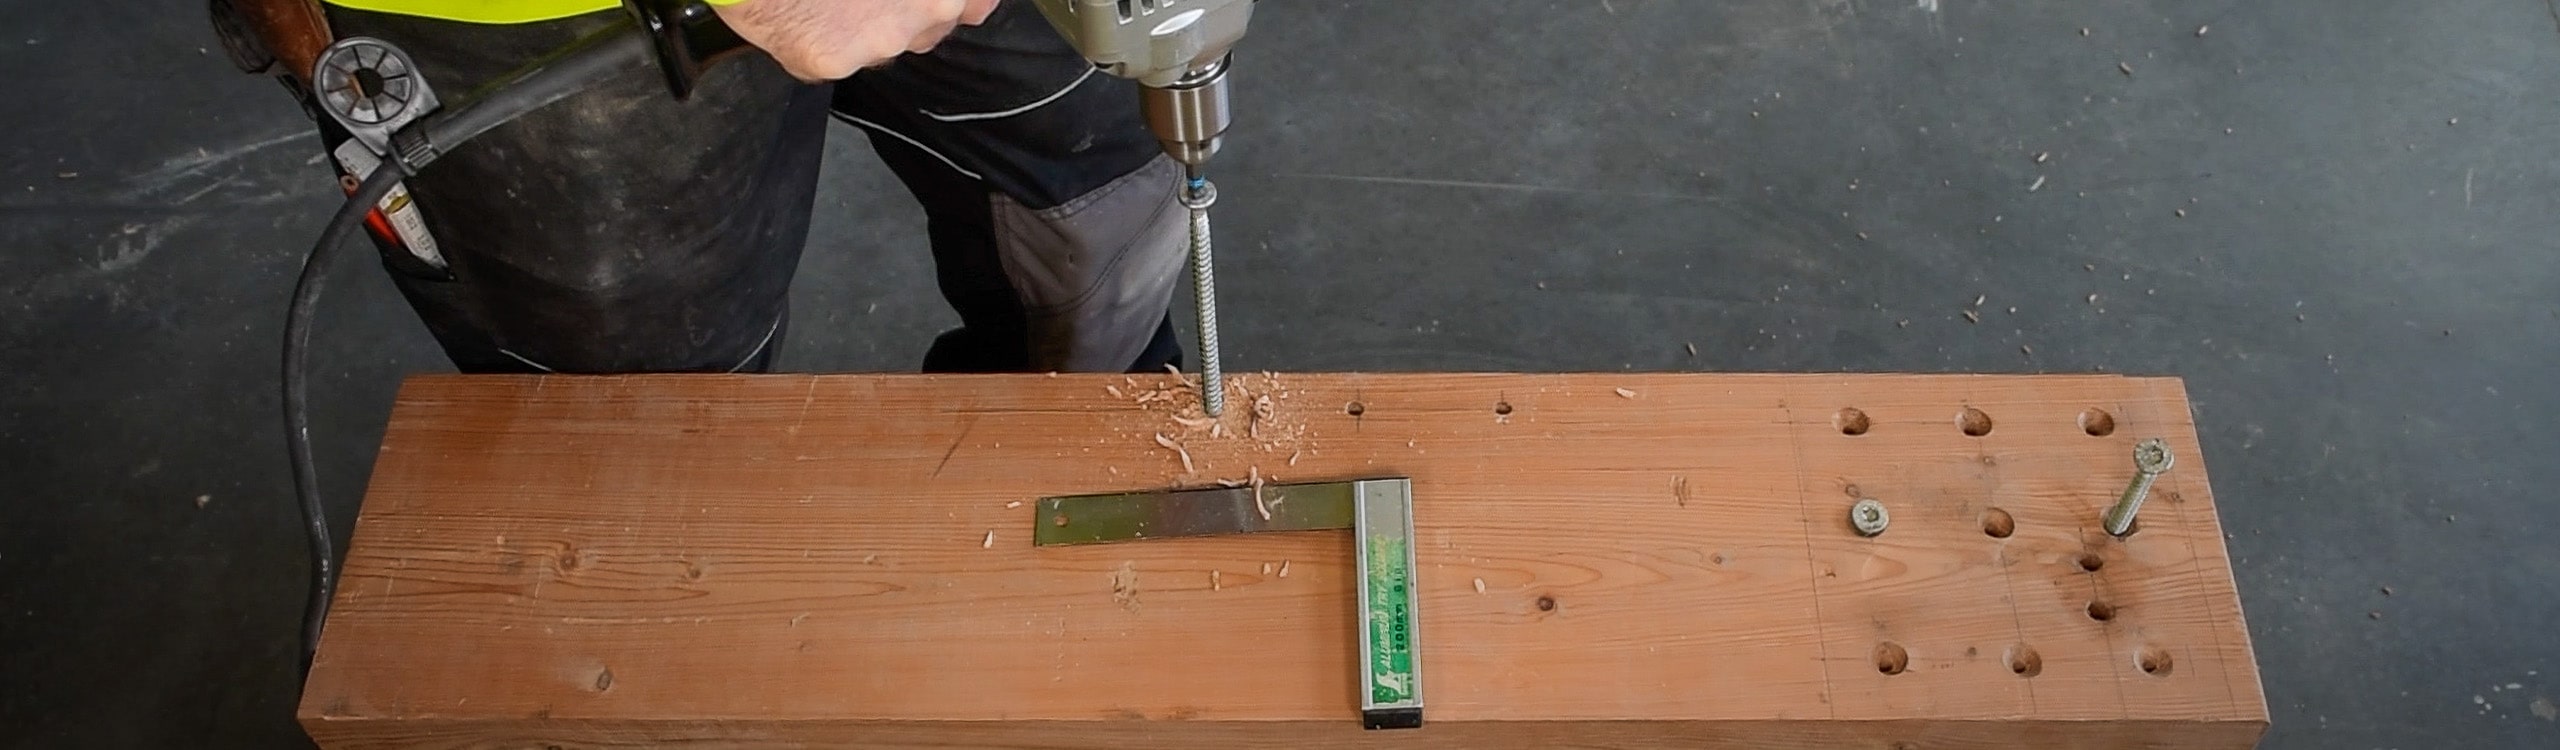
Once the pilot hole is drilled, the screws may be installed. As these screws are flexible, they may wobble when installed. Therefore, it is crucial to secure the head of the screw to the drill bit at the beginning of the installation using a hand. If not, the wobbling of the fastener and the rotation of the drill may cause the drill tip to lose grip on the head of the screw. This may lead to stripping of the screw head or drill bit. The screw does not require to be pushed in as the rotation and the thread will do this work for the installer. Once the fastener is well engaged into the wood member, the installer’s securing hand may be placed on the drill to finish a flush installation of the fastener. For reference, our installer removed his hand from the screw at around two-thirds of the installation process. The final third of the installation will probably require two hands on the drill as the torque transfer from the screw will be higher with increasing penetration into the timber. Screws with larger diameters will require additional torque. For example, a 1/2” diameter fully threaded ASSY Kombi screw could require more torque than a 5/16” diameter ASSY VG CYL screw.
We hope that this explanation will help in future installation of MTC Solutions fully threaded screws.
Register for a Technical Learning Session
Sign up for MTC Newsletter and keep up to date with all our progress.