As mass timber members increase in size and carry heavier combined loads, their connections must also scale up to meet these demands. Steel strong-back or splice plates represent a common type of connector that is increasingly employed to transfer diaphragm chord forces and handle axial forces in beam end-to-beam end connections within large structures where moment continuity is required. Oftentimes, the required steel plate does not need to be very thick, but it is specified as such to accommodate the countersunk head of self-tapping screws (STSs). A special type of washer can be used for each screw in the plate, allowing for the selection of an efficient thickness based solely on the load requirements.
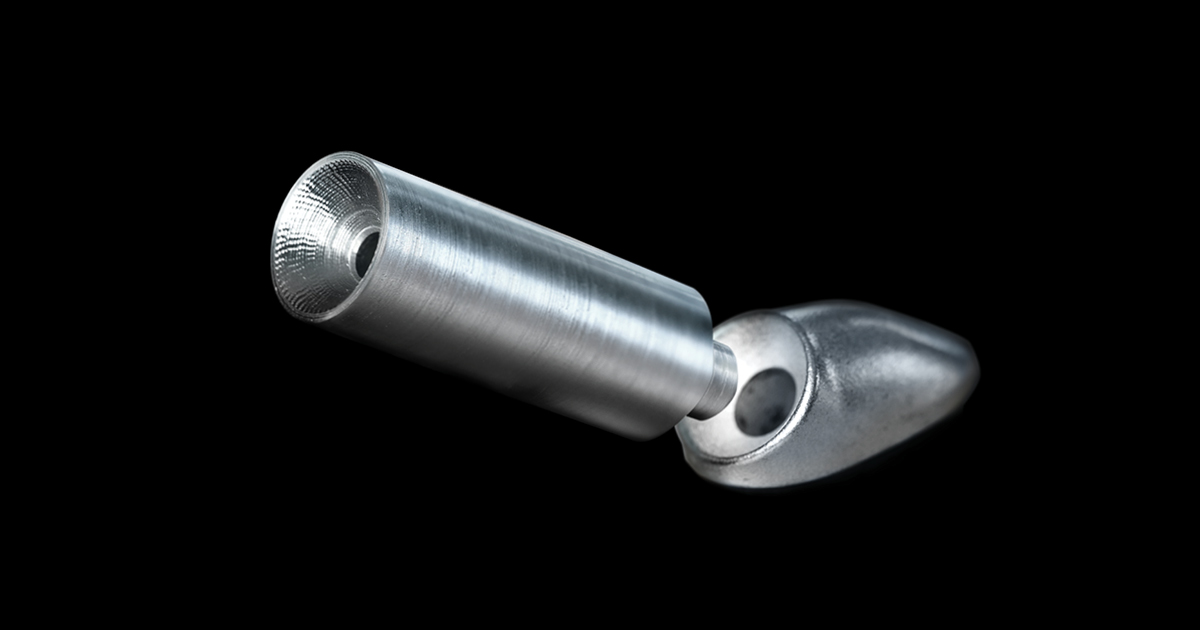
MTC Solutions’ cast iron 45° Wedge Washers are an engineered cost-saving solution for steel-to-wood connections. Available in three different sizes and compatible with 5/16” [8 mm], 3/8” [10mm], 1/2″ [12 mm] countersunk head fasteners [i.e., ASSY Ecofast and ASSY VG CSK], they are simply installed into machined holes in steel plates with an elliptical shape. Using our self-aligning MTC Pre-Drilling Jig during the installation will not only yield a more efficient installation process, reducing the connections’ overall cost, but will more readily ensure a precise and high-quality assembly.
This article covers design considerations and installation instructions to avoid common mistakes.
Approximately 8-minute read.
What Are the Benefits of Using the 45° Wedge Washers?
Designing connections using inclined fully threaded screws with MTC Solutions’ 45° Wedge Washers into a steel plate is a great way to develop high-capacity connections. These fasteners have high tensile resistance and are available in relatively long lengths, which makes it possible to develop high withdrawal resistance. This format of steel-to-wood connection makes use of the axial properties leading to significantly higher capacities compared to lateral connections at 90°.
The use of 45° Wedge Washers eliminates the complex milling process and associated accommodations otherwise required to completely countersink a screw head in a steel plate. As a result, these washers allow for a more cost-effective steel-to-wood connection solution incorporating thinner steel plate material and hole geometry requiring less involved fabrication.
Design Considerations
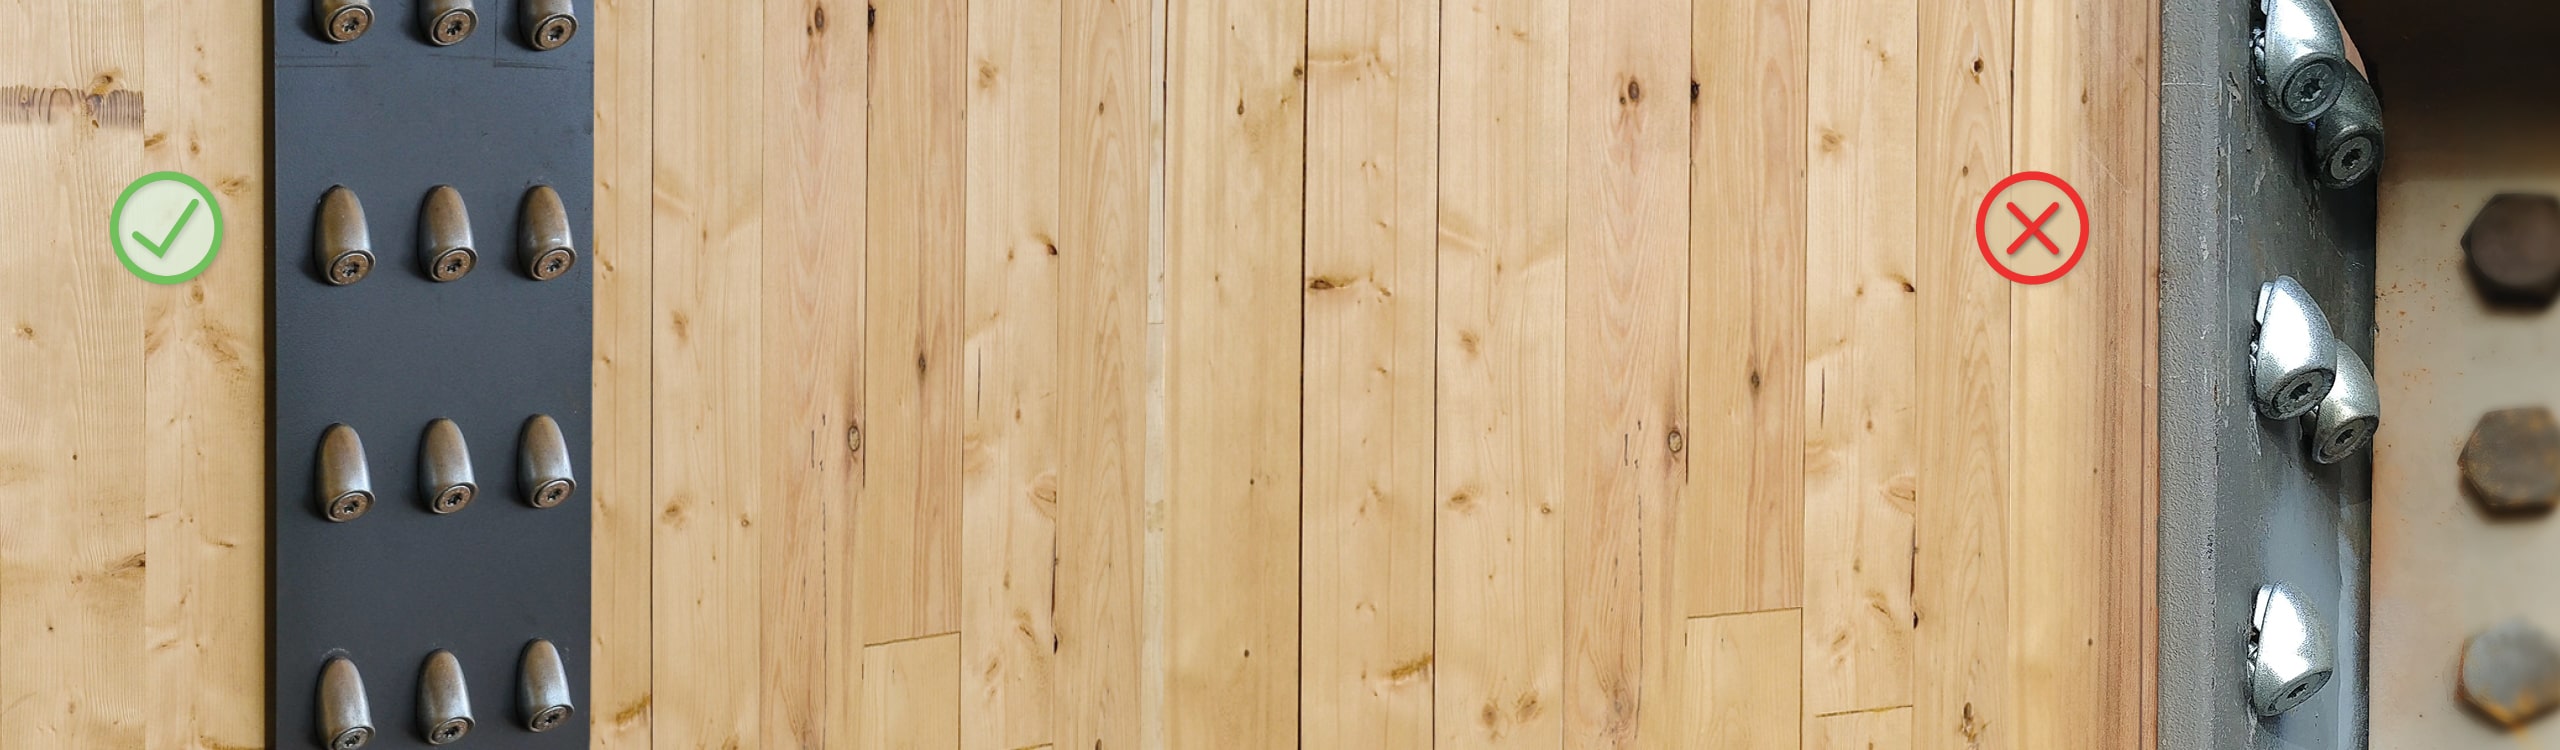
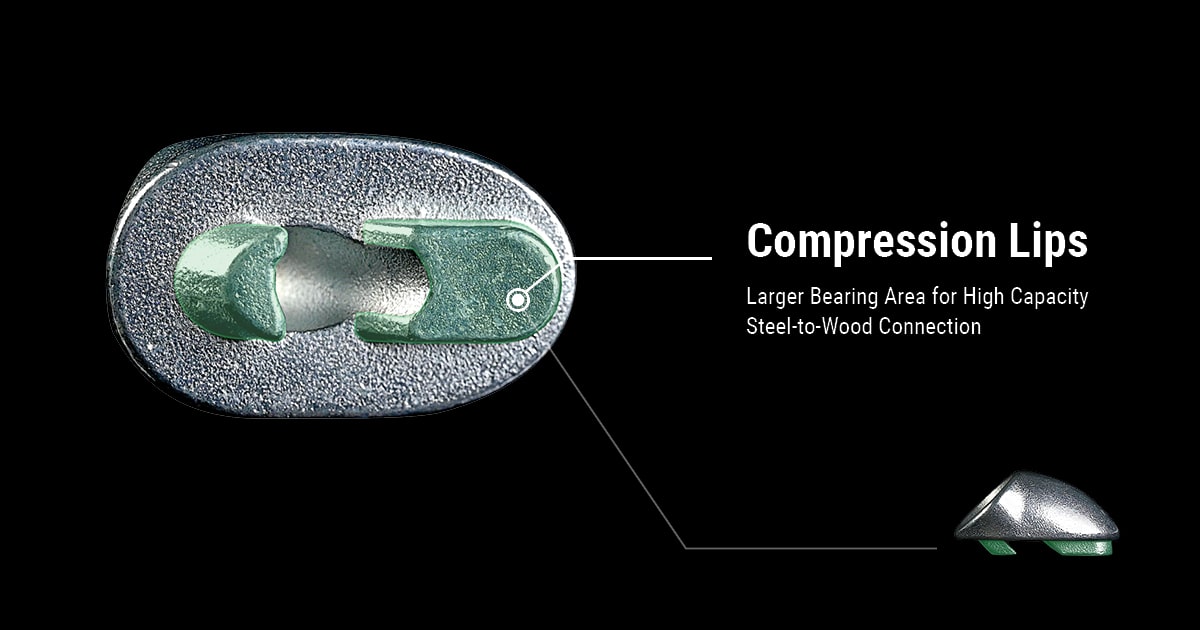
To successfully install the 45° Wedge Washer, the details of its geometry must be carefully considered and accommodated. Any additional thickness due to surface coatings or other finishes must be accounted for during hole detailing and fabrication. Following installation, the washer must sit flat against the steel plate and its compression lip must be fully housed within and bearing against the end of the slotted hole to ensure a proper force transfer to the fastener.
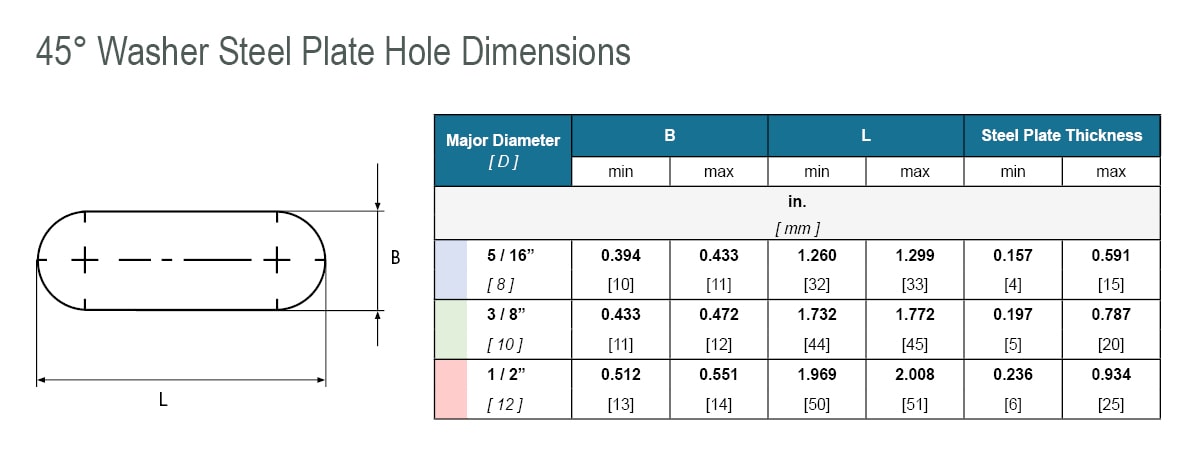
The steel plate is sized to conform with the minimum and maximum thicknesses based on the size of the respective 45° Wedge Washer and the slotted hole dimensions relative to the screw diameter. More information and design considerations for coated plates can be found in the Structural Screw Connection Design Guide. The following table presents the design requirements based on the screw diameter:
How to Install the 45° Wedge Washer
The following steps highlight best practices to install a 45°-angled screw using an MTC Solutions’ 45° Wedge Washer, as outlined in the ICC ESR-3178, in a steel-to-wood connection configuration. In this case, the fastener used is an ASSY VG CSK 5/16″ x 8-5/8″ [8 x 220mm].
Tools and equipment
Preparation: Secure the steel plate’s position on the wood member
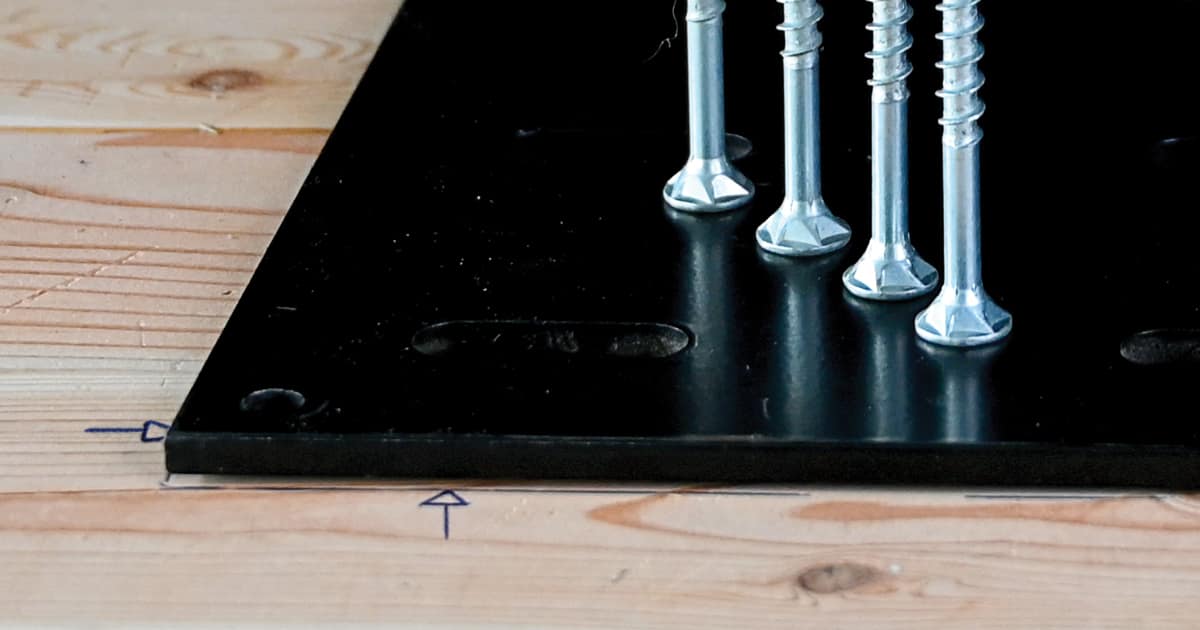
Plumb and level the connector (i.e., MTS-I 30) in position on the wood member. Alignment is crucial for these types of connections, as the connection may be subject to high design loads and misalignment may result in reduced performance.
Step 1: Install Locator Screws
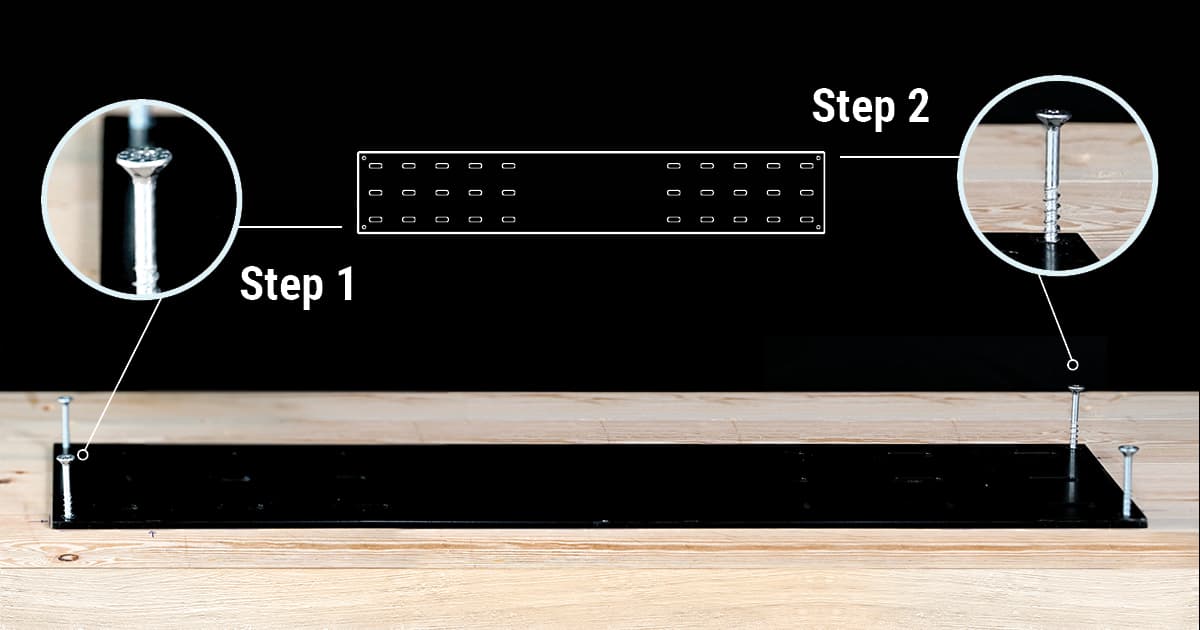
Install the first locator screw at a corner without fully setting it. Once the plate is in its final position, a second locator screw can be fully installed at the opposite corner and the previous screw can be tightened to fix the plate in position. Afterwards, the two remaining screws can be installed.
Step 2: Optional but Recommended Use of the MTC Pre-Drilling Jig
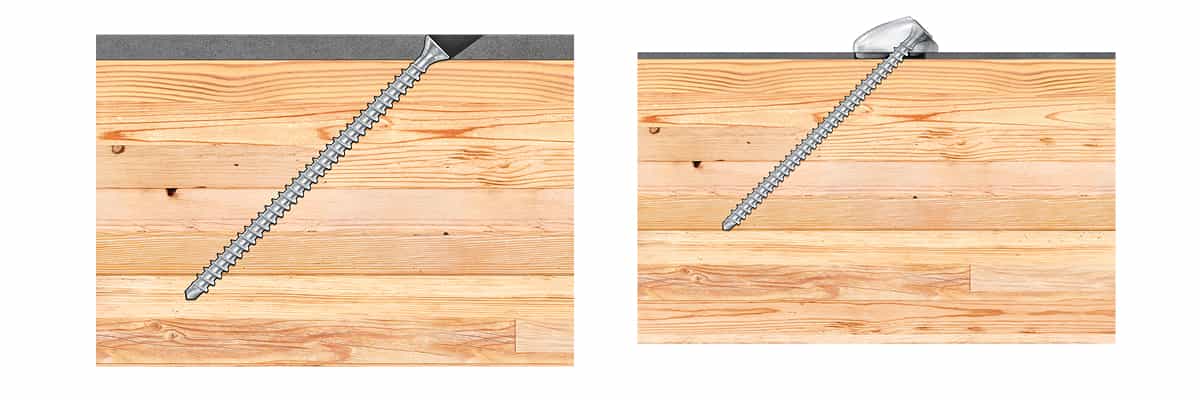
In a previous blog post, we explained predrilling & pilot holes to receive desired load limits and described the importance of an accurate installation, using the correct drill bit. Installation with a wrong screw angle can introduce an additional bending moment at the screw head.
All inclined screws must be installed at the center of the hole in their steel plates to prevent the threads from clashing with any steel, which would result in damage to the screw threads as well as a significant increase in the torque required for installation, leading to potential screw failure.
The MTC Pre-Drilling Jig, as shown in the video, is a helpful tool to support the Wedge Washer installation with a precisely located pilot hole, offering several benefits:
After drilling the pilot holes, it is important to clear any saw dust or drill shavings created. It may seem trivial but saw dust may retain humidity which has the potential to damage steel connections over time.
Step 3: Wedge Washer Positioning
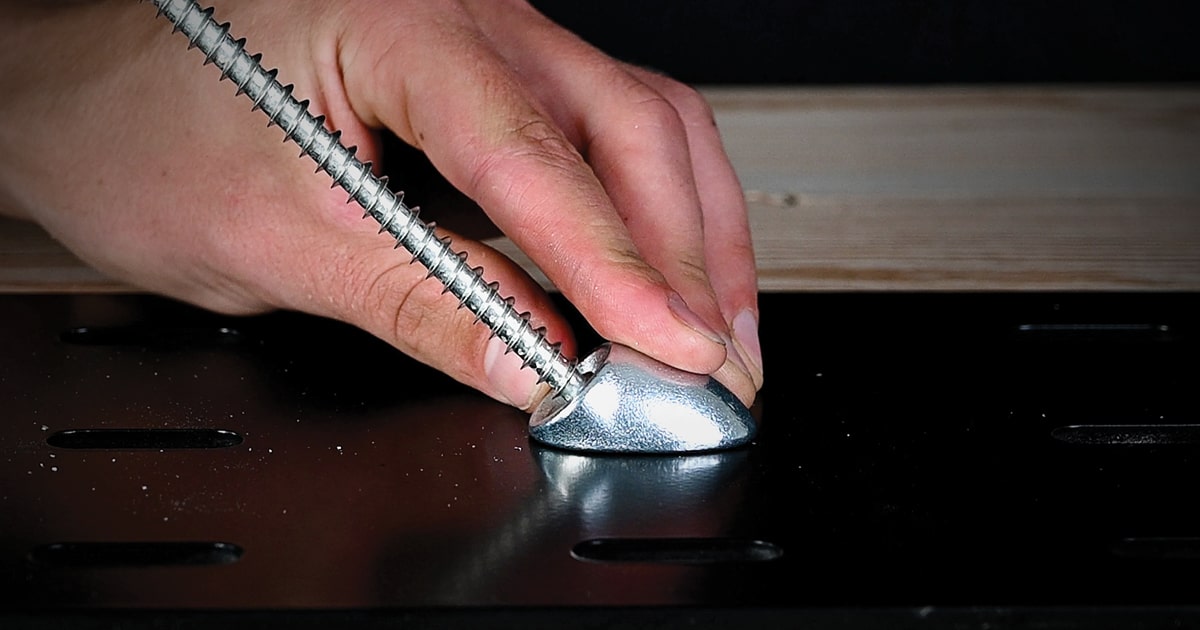
Place the 45° Wedge Washer firmly in position. Verify that the shoulders of the washer fit properly into the slotted hole and that the washer sits flat against the steel plate. The compression lip of the washer should be bearing against the end of the slotted hole. Hold the washer in place during screw insertion to ensure that it remains properly seated. Avoid placing the washer too far forward or backward so that it will not lift on the opposing side.
Step 4: Fastener Installation into the Wedge Washer
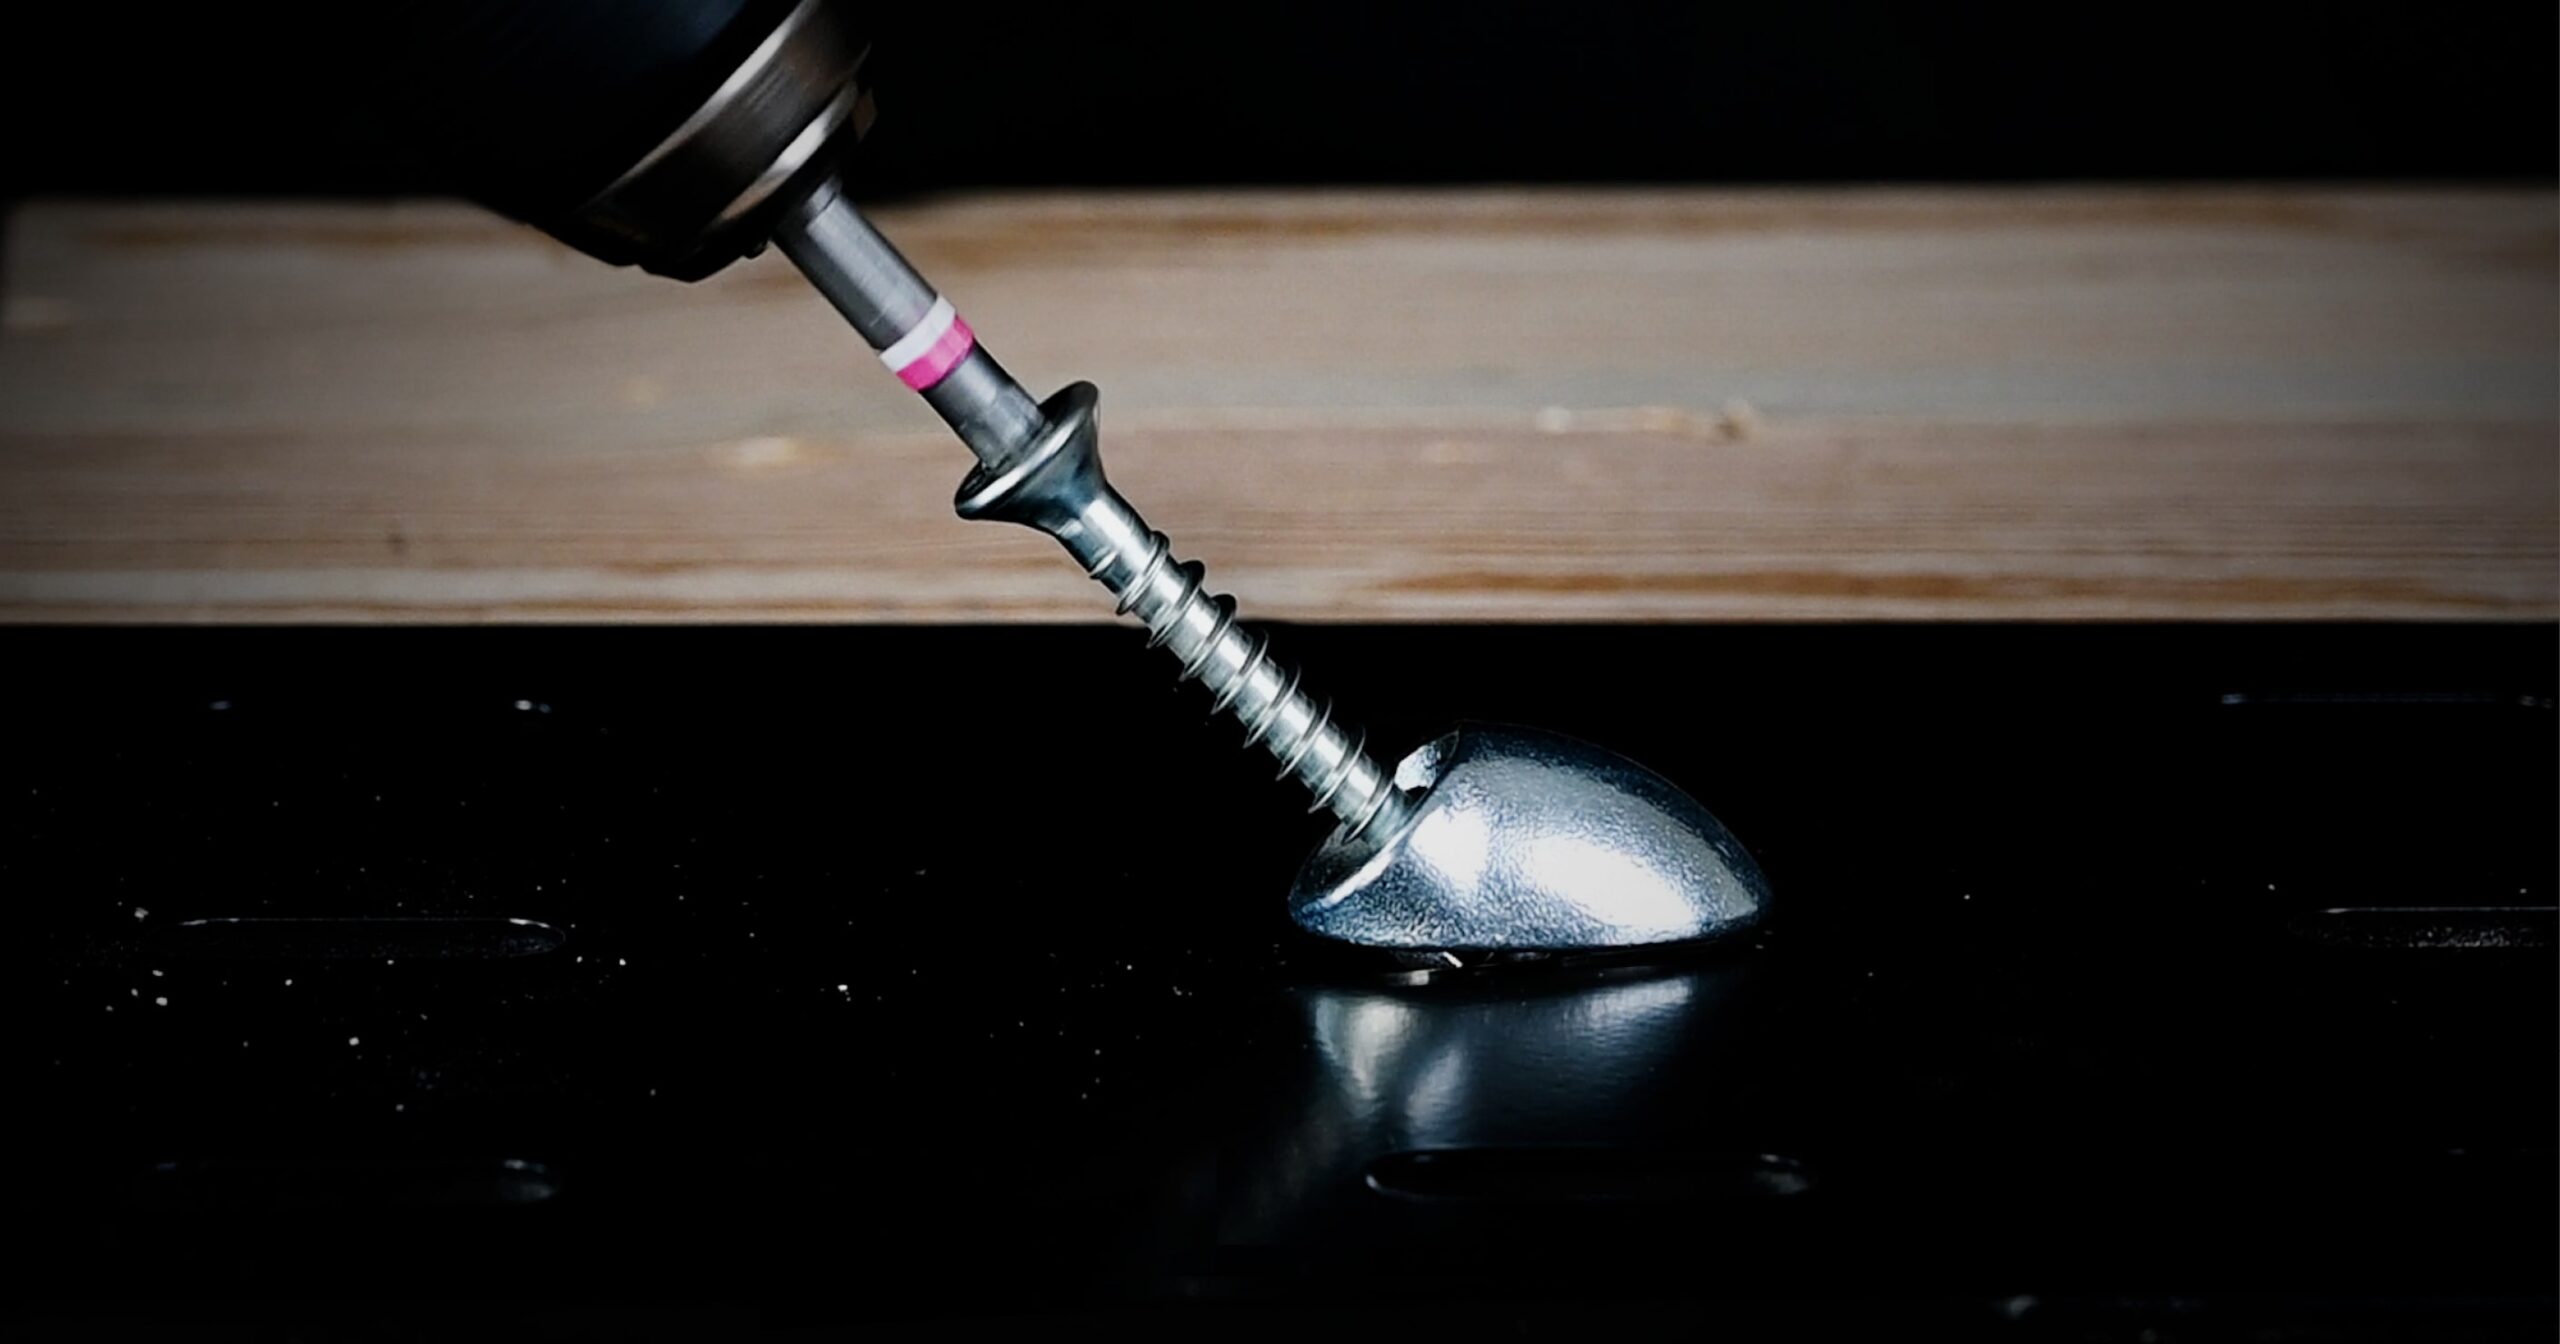
Position the screw in the Wedge Washer and drive the inclined screw into the wood. Once the threads are engaged with the wood fiber, avoid applying pressure on the drill. Further installation information can be found on our blog post about How to Install Structural Self-Tapping Screws?
Avoid over-torquing the screw by slowing down the rotation speed about 1” away from complete installation. Over-torquing can damage the screw or cause injuries to the installer. To avoid this, we recommend using a drill with a torque-limiting clutch or, if unavailable, limiting the torque manually at the end of the installation, as shown in the video.
If you want to learn more about our 45° Wedge Washers and/or how to use them in high-capacity steel-to-wood connections, download our Structural Screw Catalog and read through section Appendix E: Steel Plate Detailing.
If you have any questions, contact our Technical Support Team 🙂
Register for a Technical Learning Session
Sign up for MTC Newsletter and keep up to date with all our progress.